
After consolidating their forces after D-Day, the beleaguered British airborne troops at Breville face a swift counterattack from the Germans
Mission: Pincer
Attacker: Germans
Terrain: City or plains/farmland or river
Allied Firestorm Troops: 6 Airborne Division- FV Rifle platoon with Command Rifle/MG, 6 Rifle/MG teams, 1 PIAT team (all have gammon bombs and section mortars) (or 200 points)
German Firestorm Troops:2 Panzer Division-3 CV Panzer IVs (or 250 points)
Continuing our campaign Firestorm:Caen, my 6th Airborne infantry dug in against an attack by Fallshirmjagers supported by the 2nd Panzer Division. My list:
BrParawNaval
One infantry platoon was added from the campaign, to give me nine platoons. My initial forces deployed were one airlanding platoon with PIAT from HQ attached, one engineer platoon, the light artillery battery and, in ambush, the 6pdr AT battery. I deployed in the North of the battlefield, partially screened by wire sections placed by the engineers.
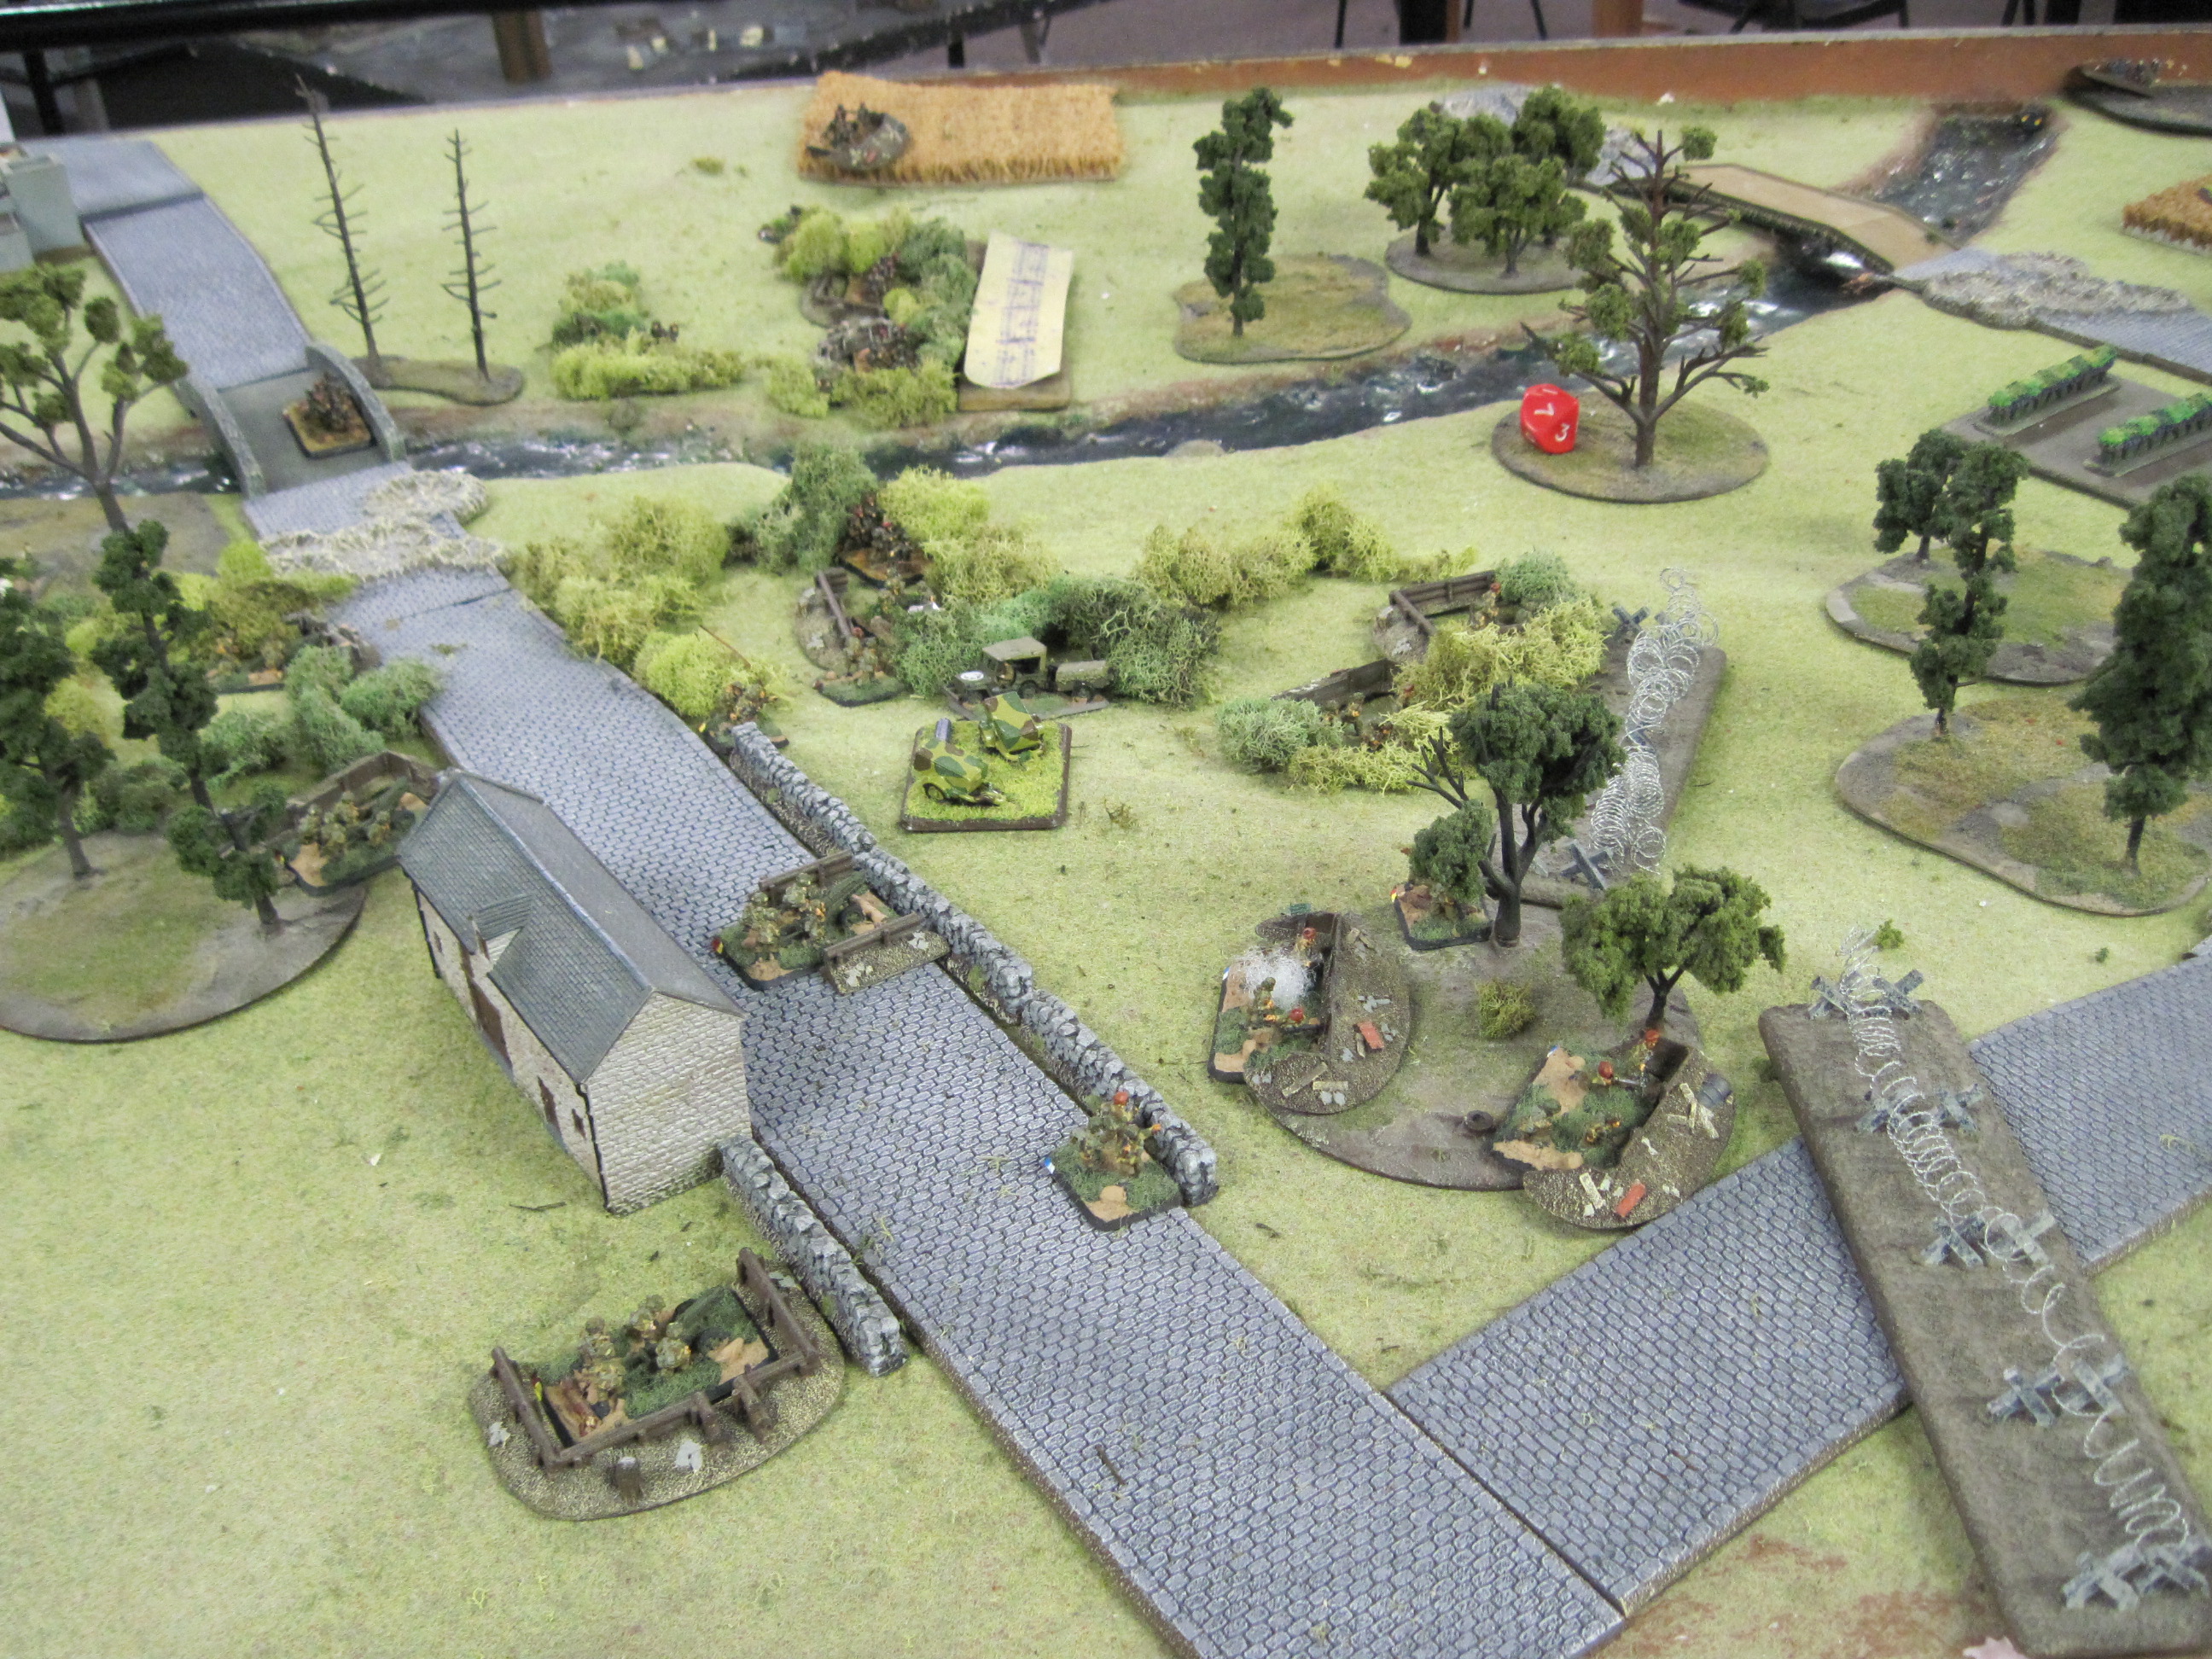 The light artillery took up position in the outskirts of Breville near the main road to Benouville. To the front were the engineers.
To their left across the stream was the airlanding platoon.
 One of the objectives is forward of the Benouville road.
 The other in the woods behind the house on the road.
 My German opponent Howard deployed to the South end of the battle. His list included two PaK platoons, two infantry, scouts, MkIVs. StuGs. mortars, AA, and a 6-gun nebelwerfer battery.
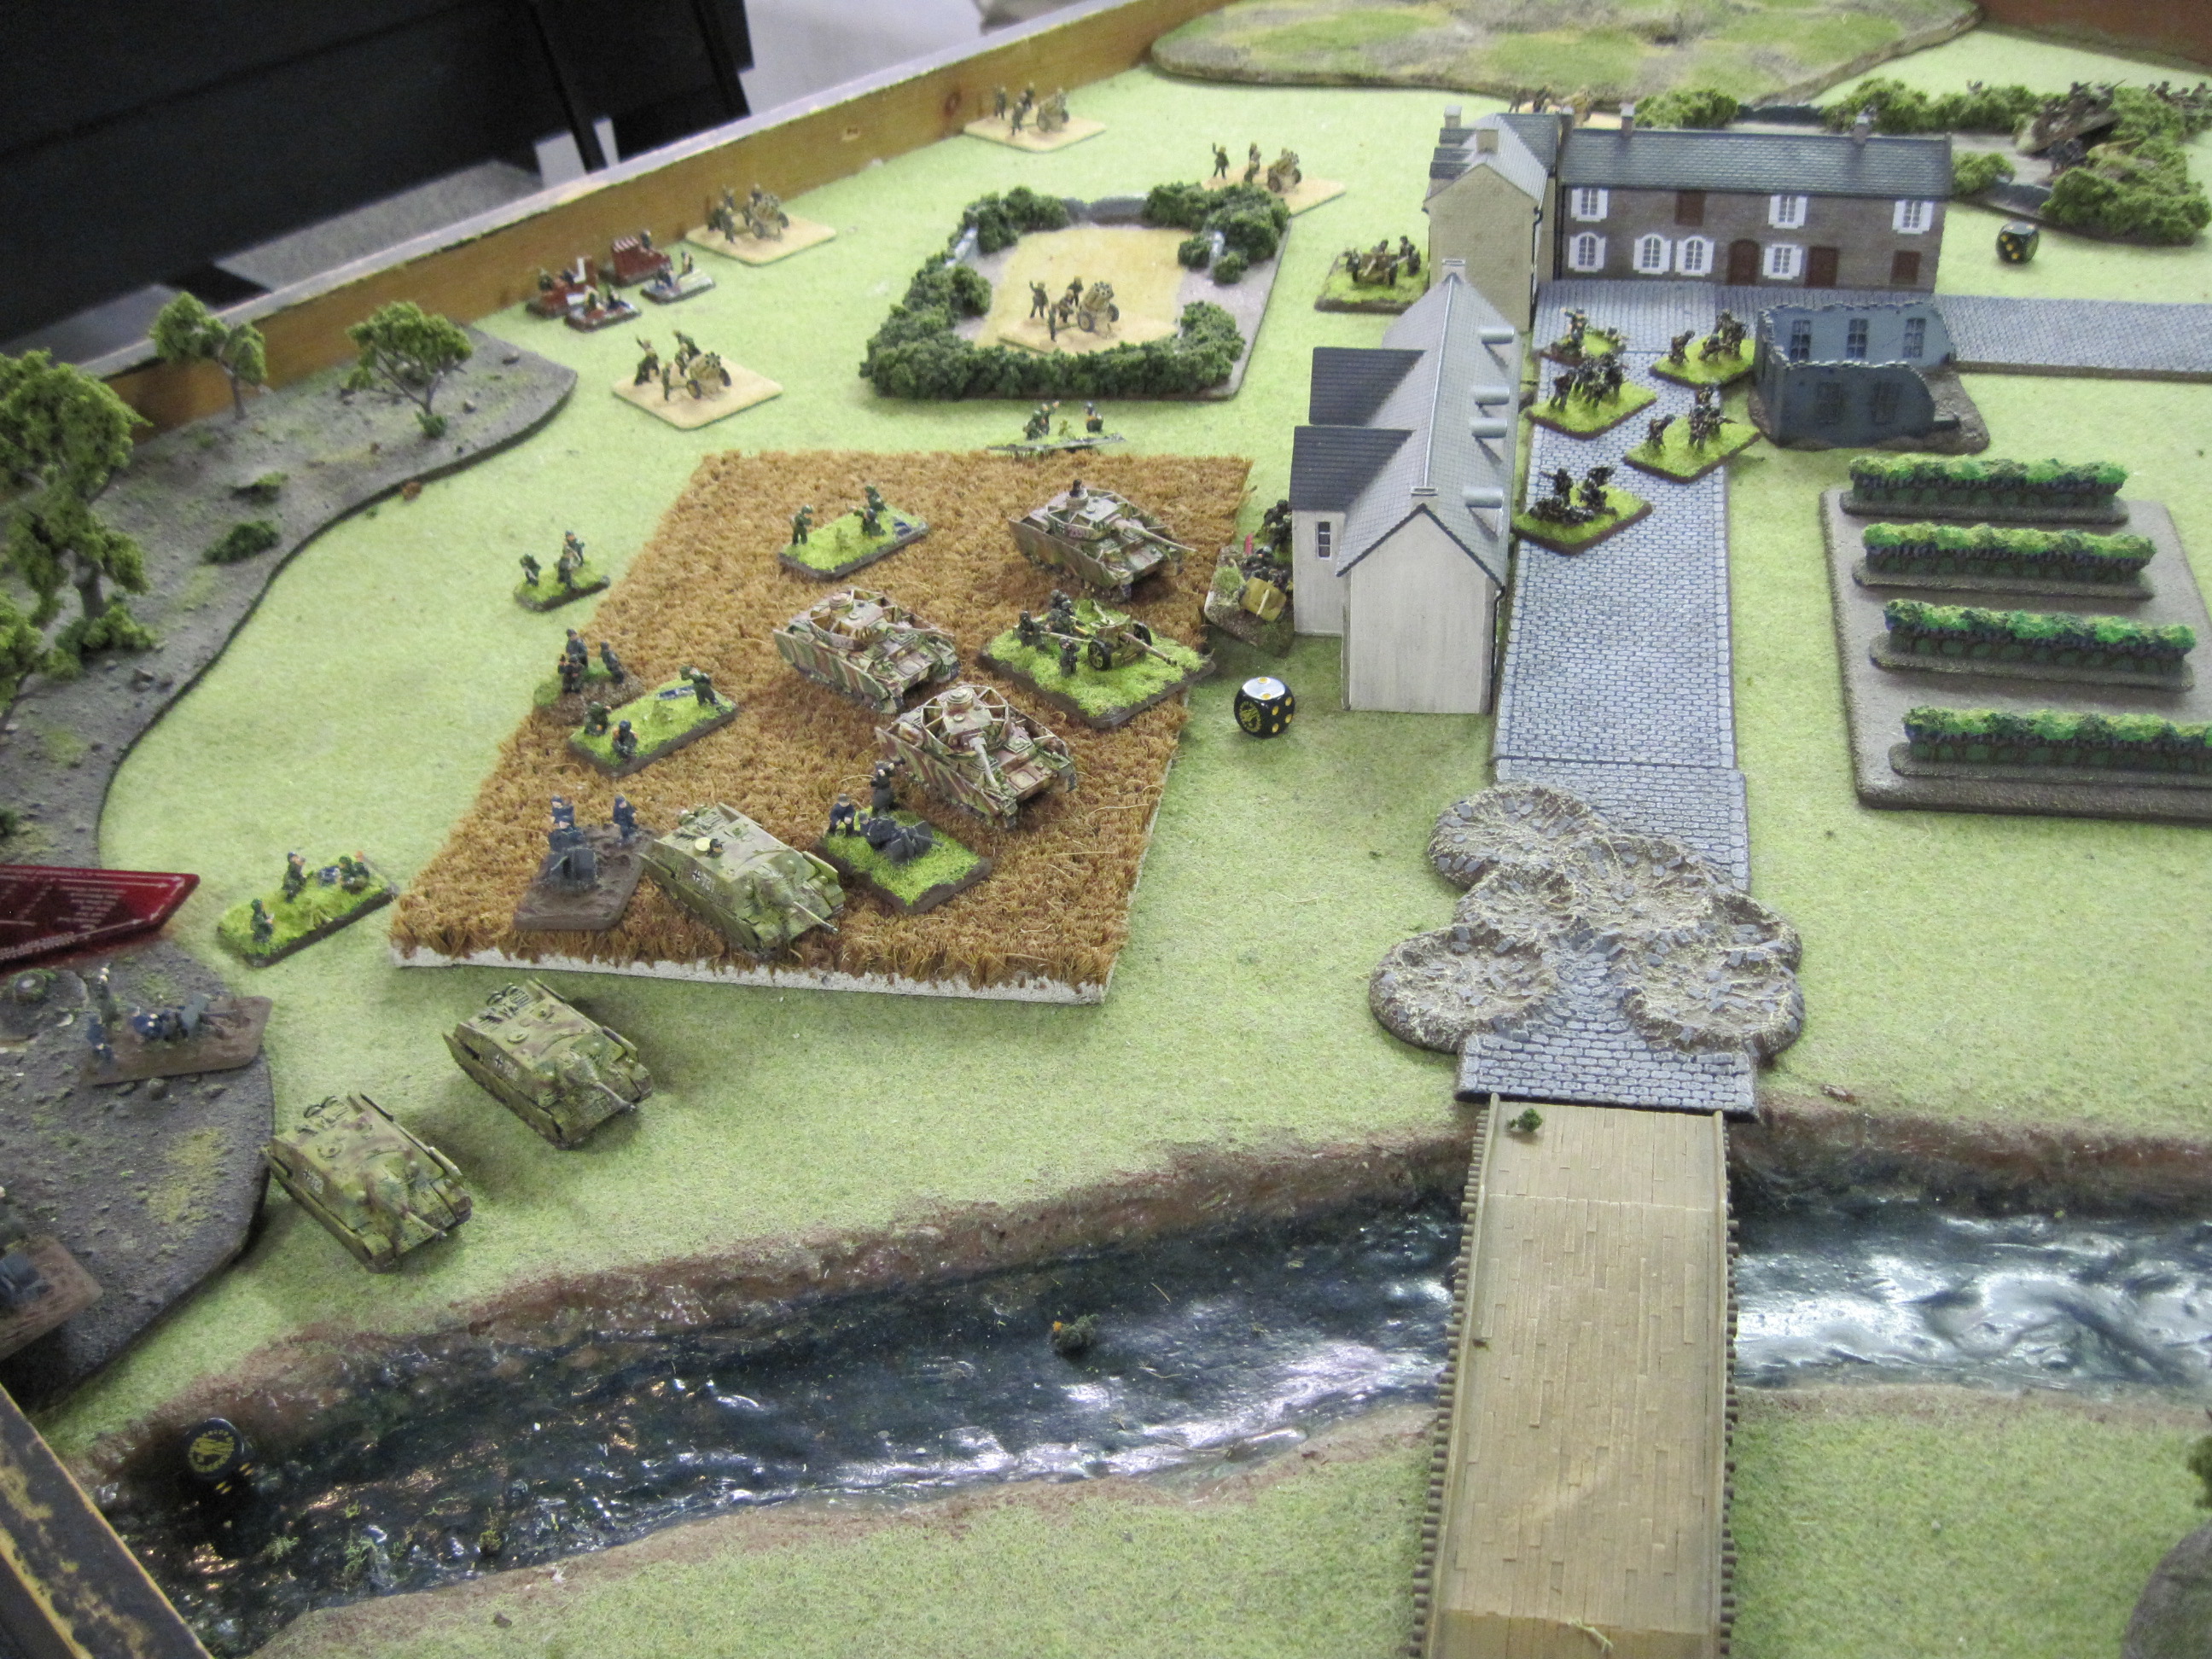 To the right of Breville near the stream, the tanks and assault guns readied to assault the British right, using the wooded areas to help screen their flanks. Infantry and antitank guns covered the rest of the front with the scout platoon in the center to discover identify hidden British positions. Nebelwerfers and light mortars dug in near the back of the village to provide support for the attack.
TURN ONE. The Germans begin with a general advance. The scouts move through the orchard in the center, trying to find any Brits lurking in ambush.
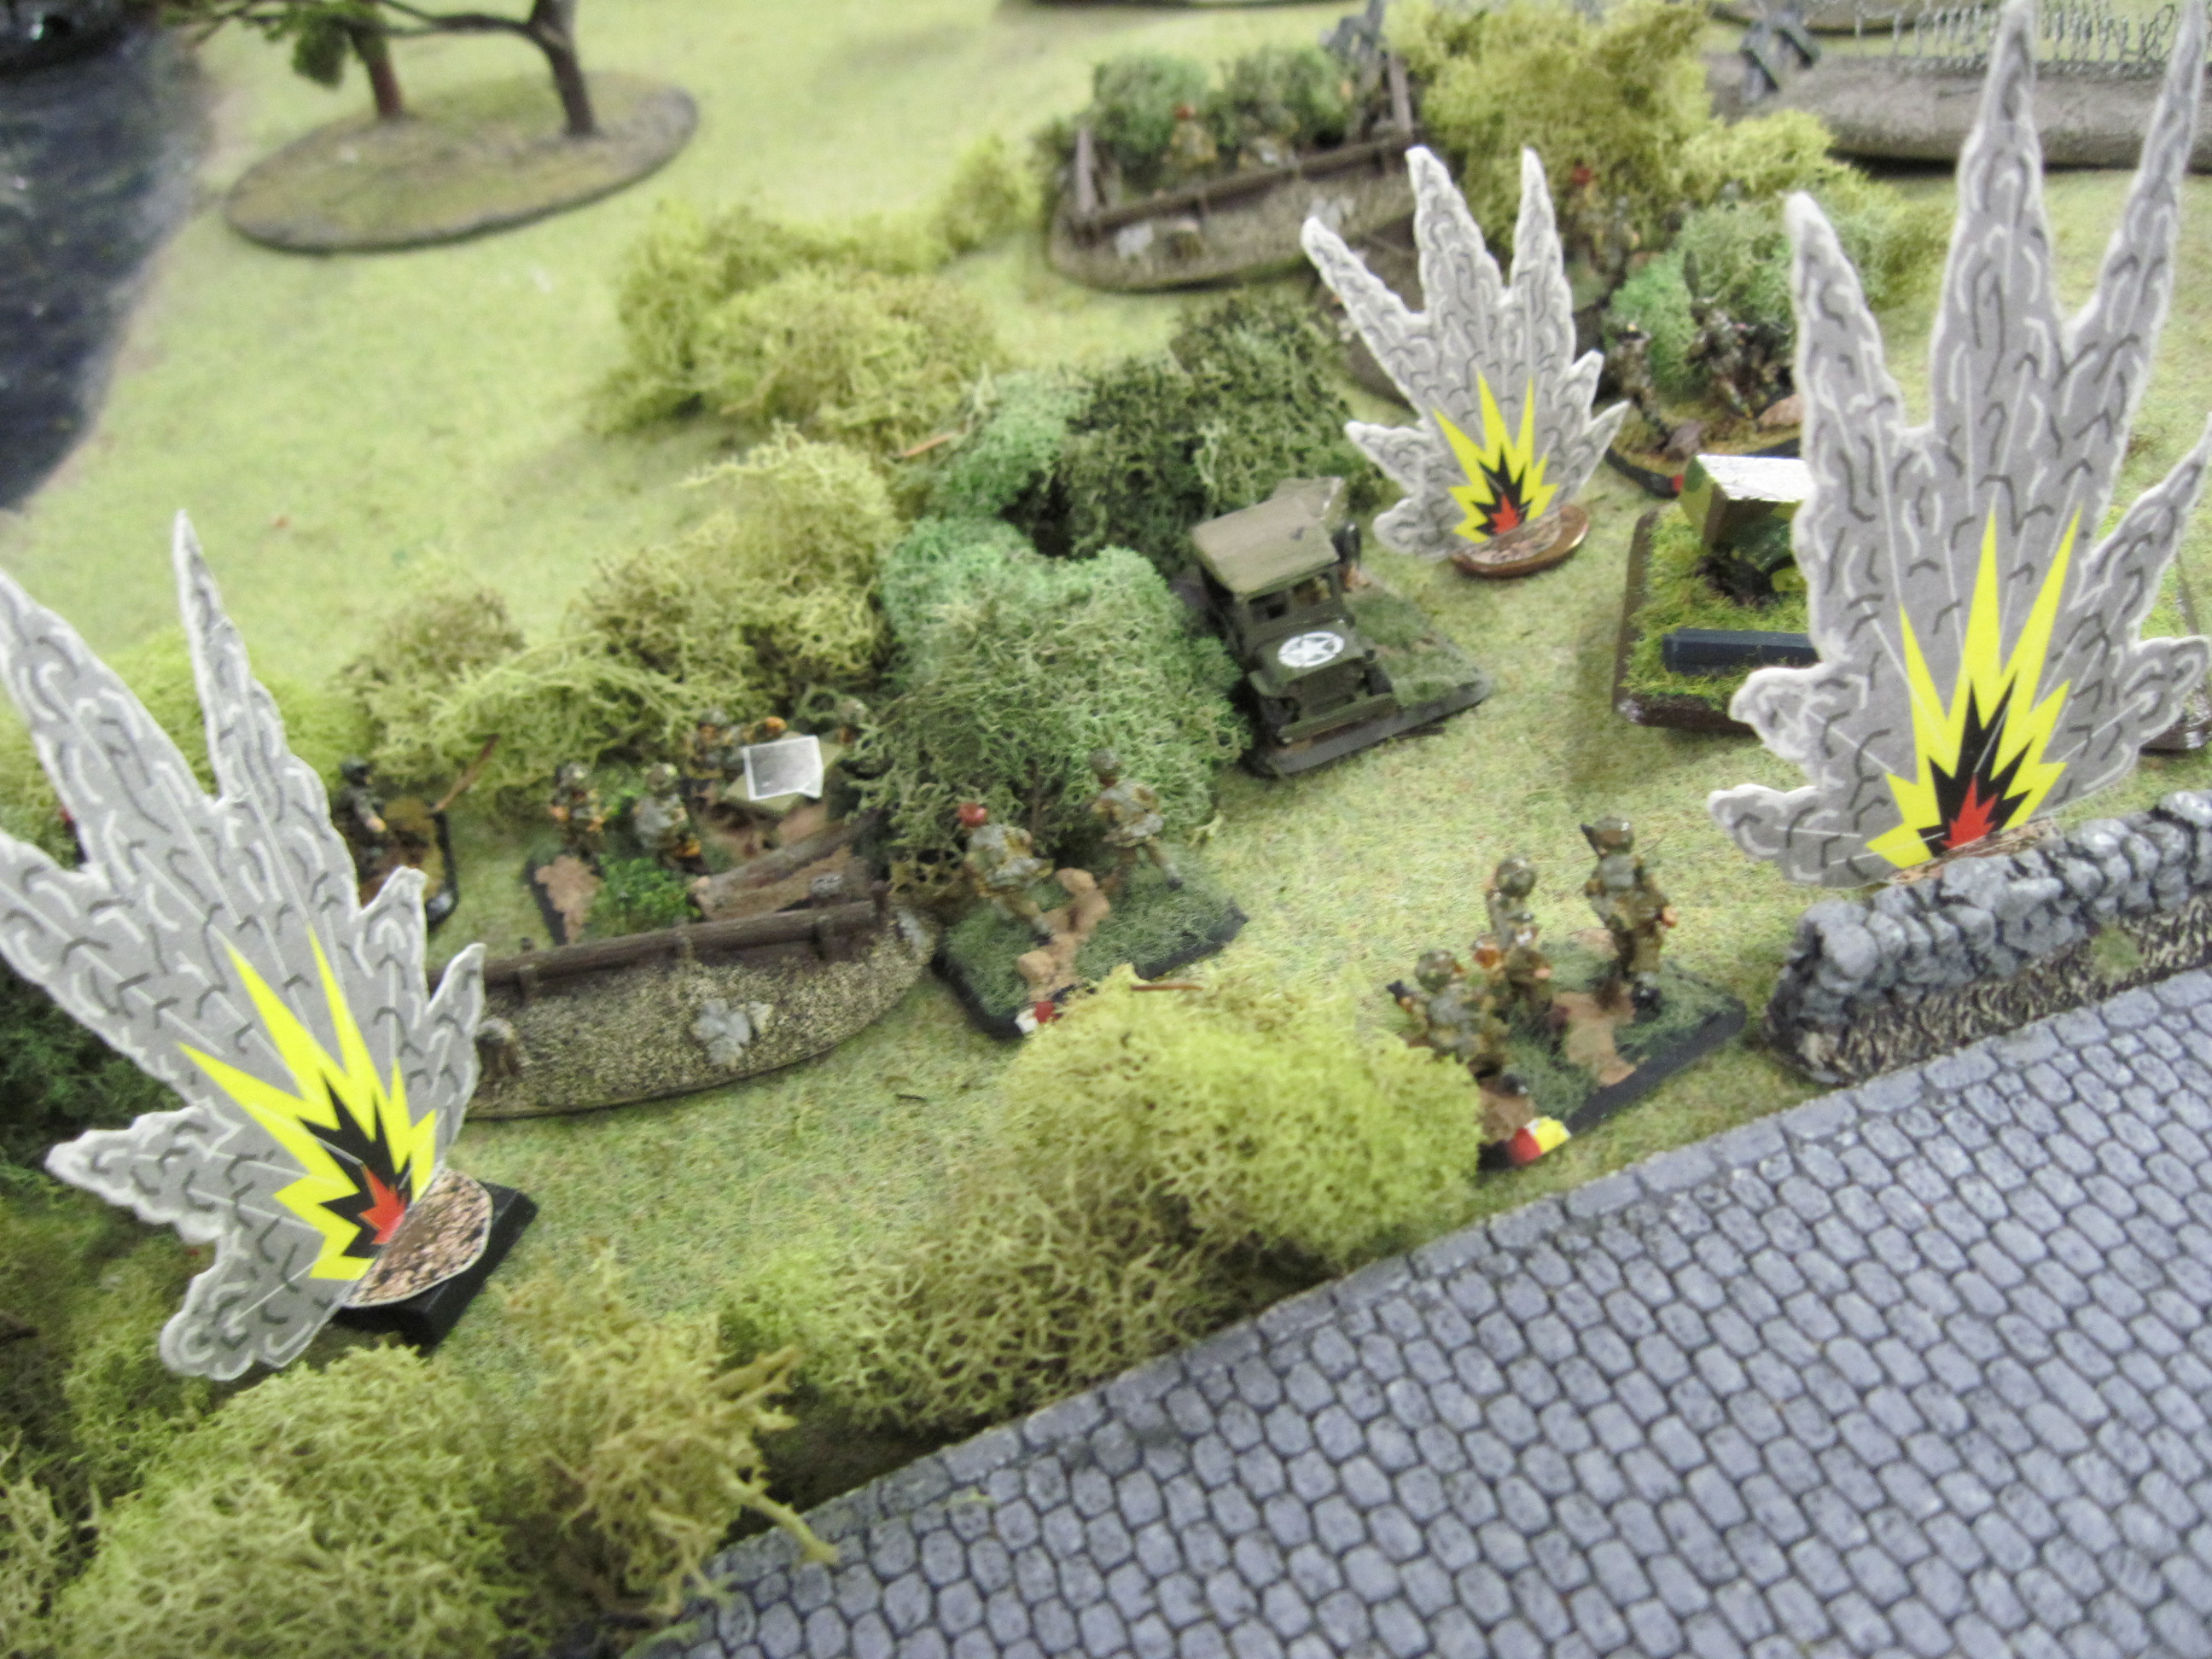 The werfers target the bocage area in the center and the unlucky staff team of the light guns is eliminated by a direct hit on their dugout. The mortars follow up but do nothing.
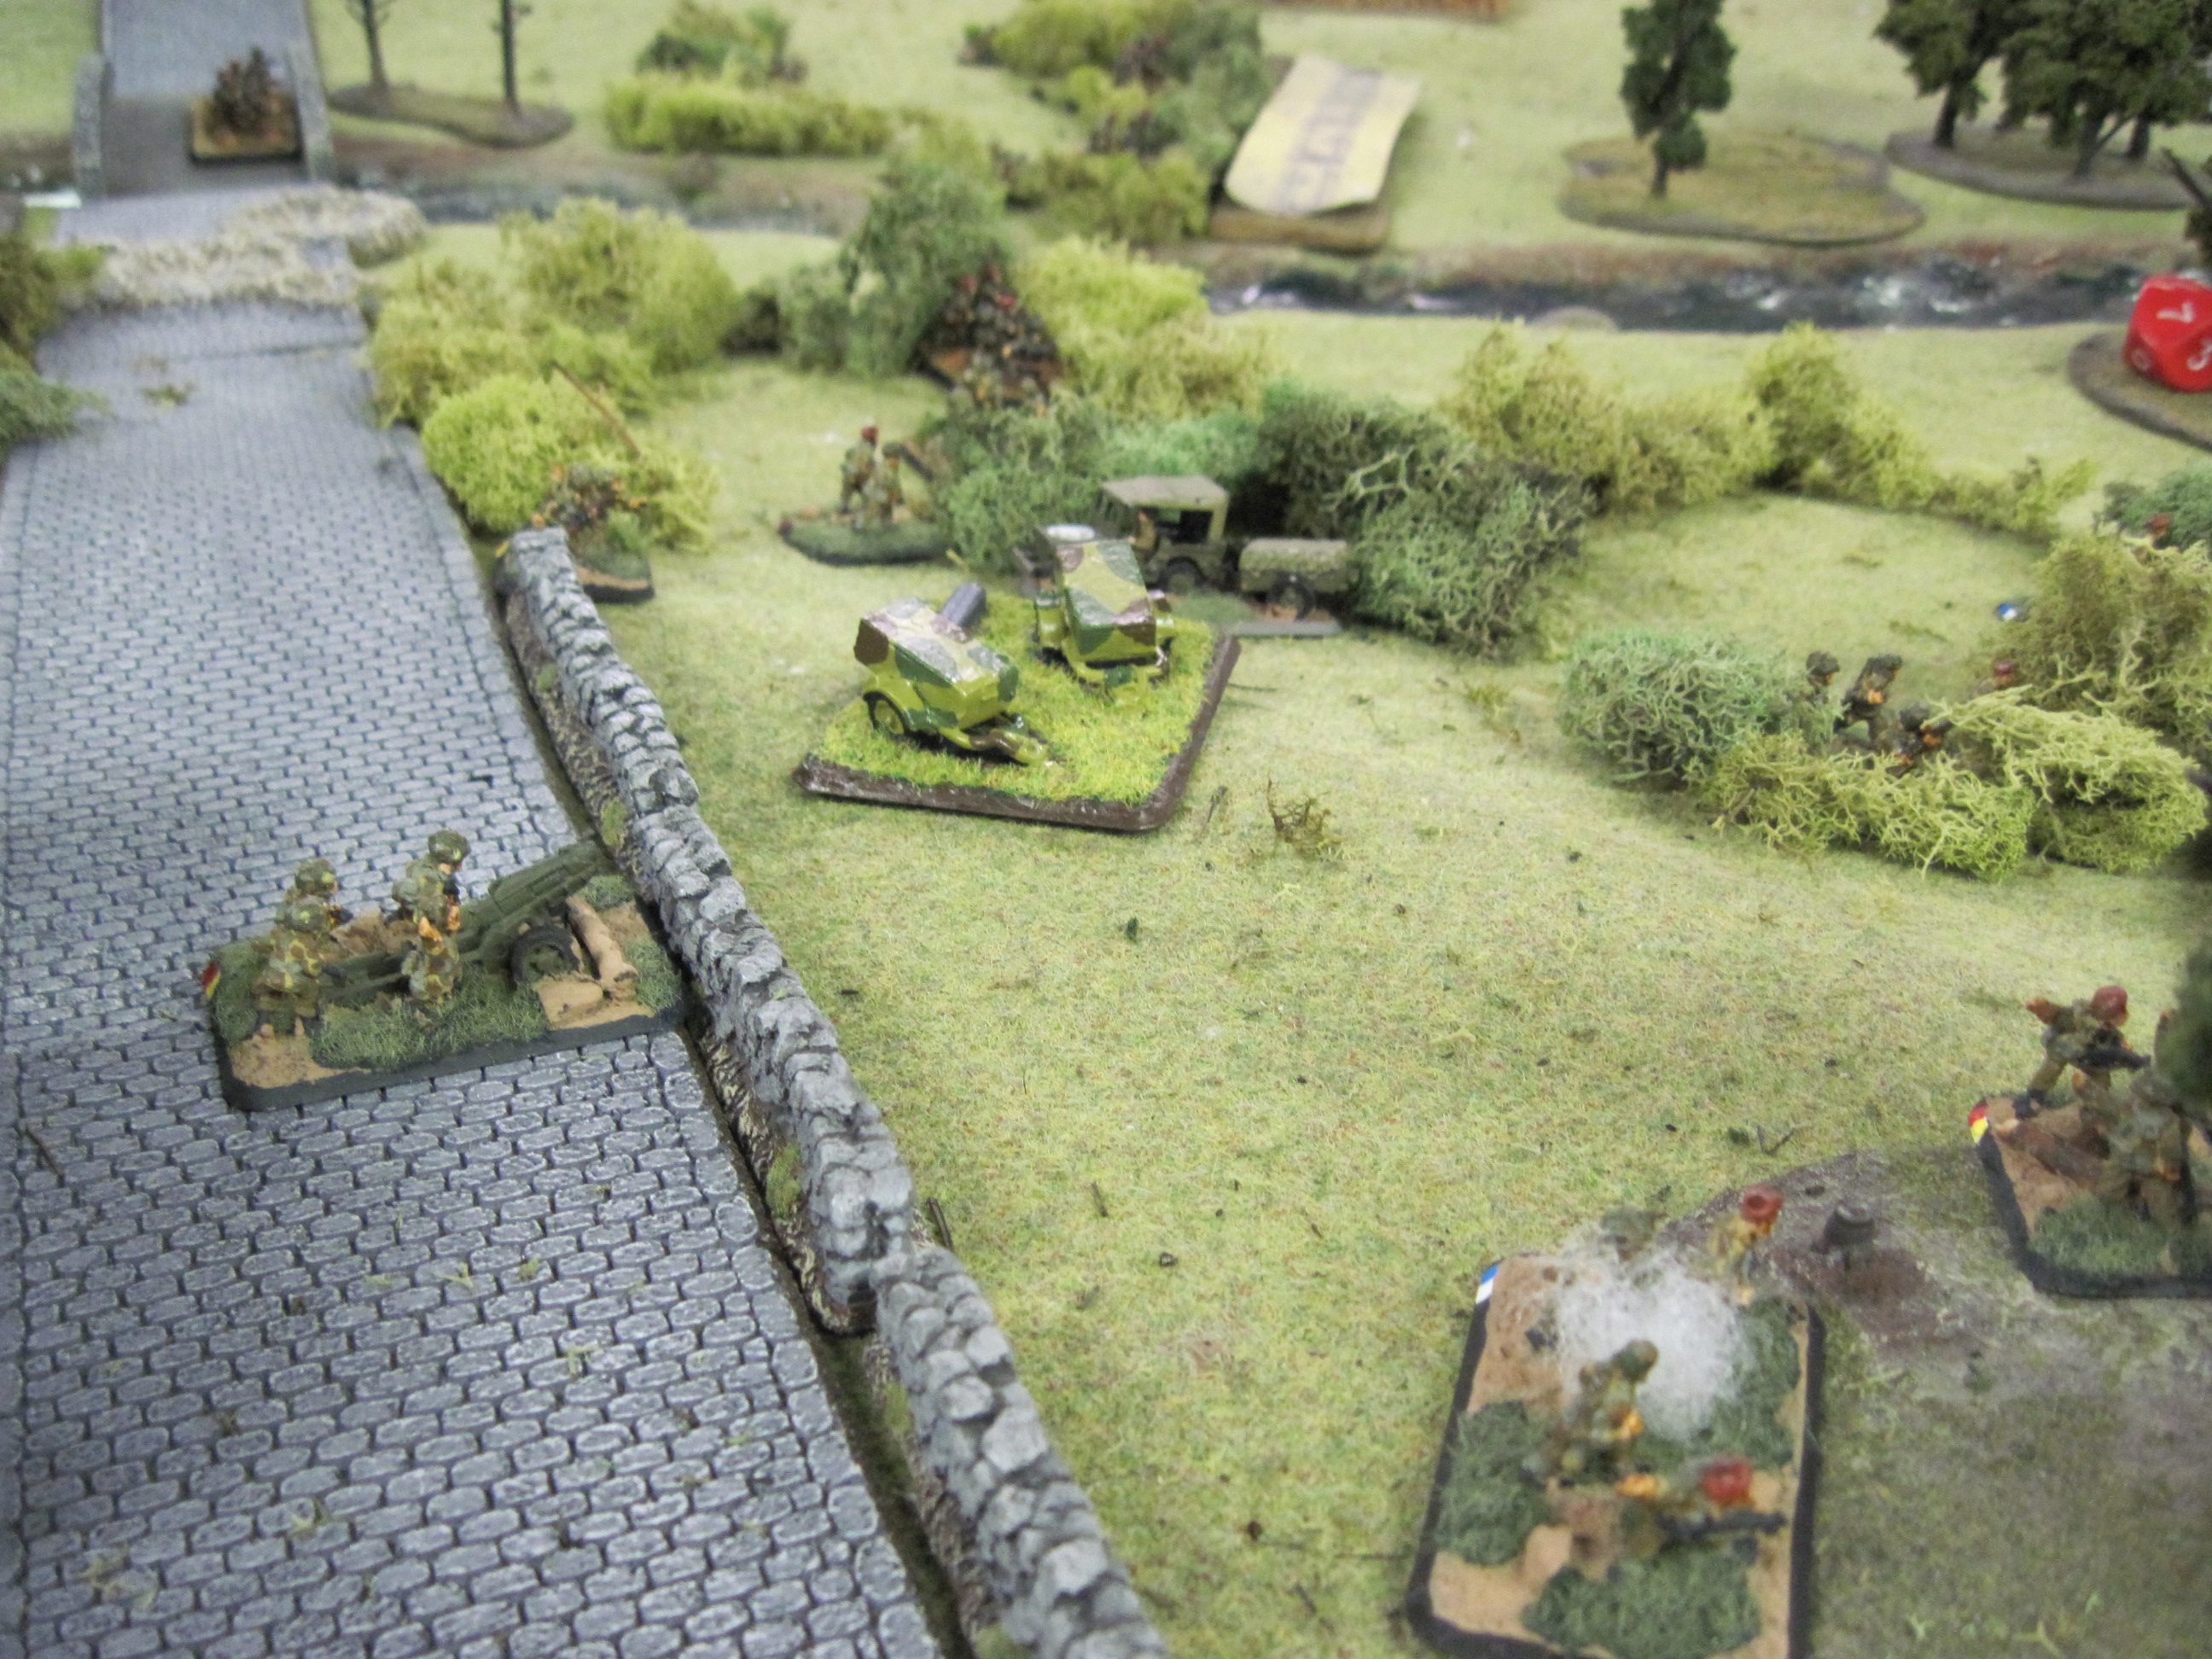
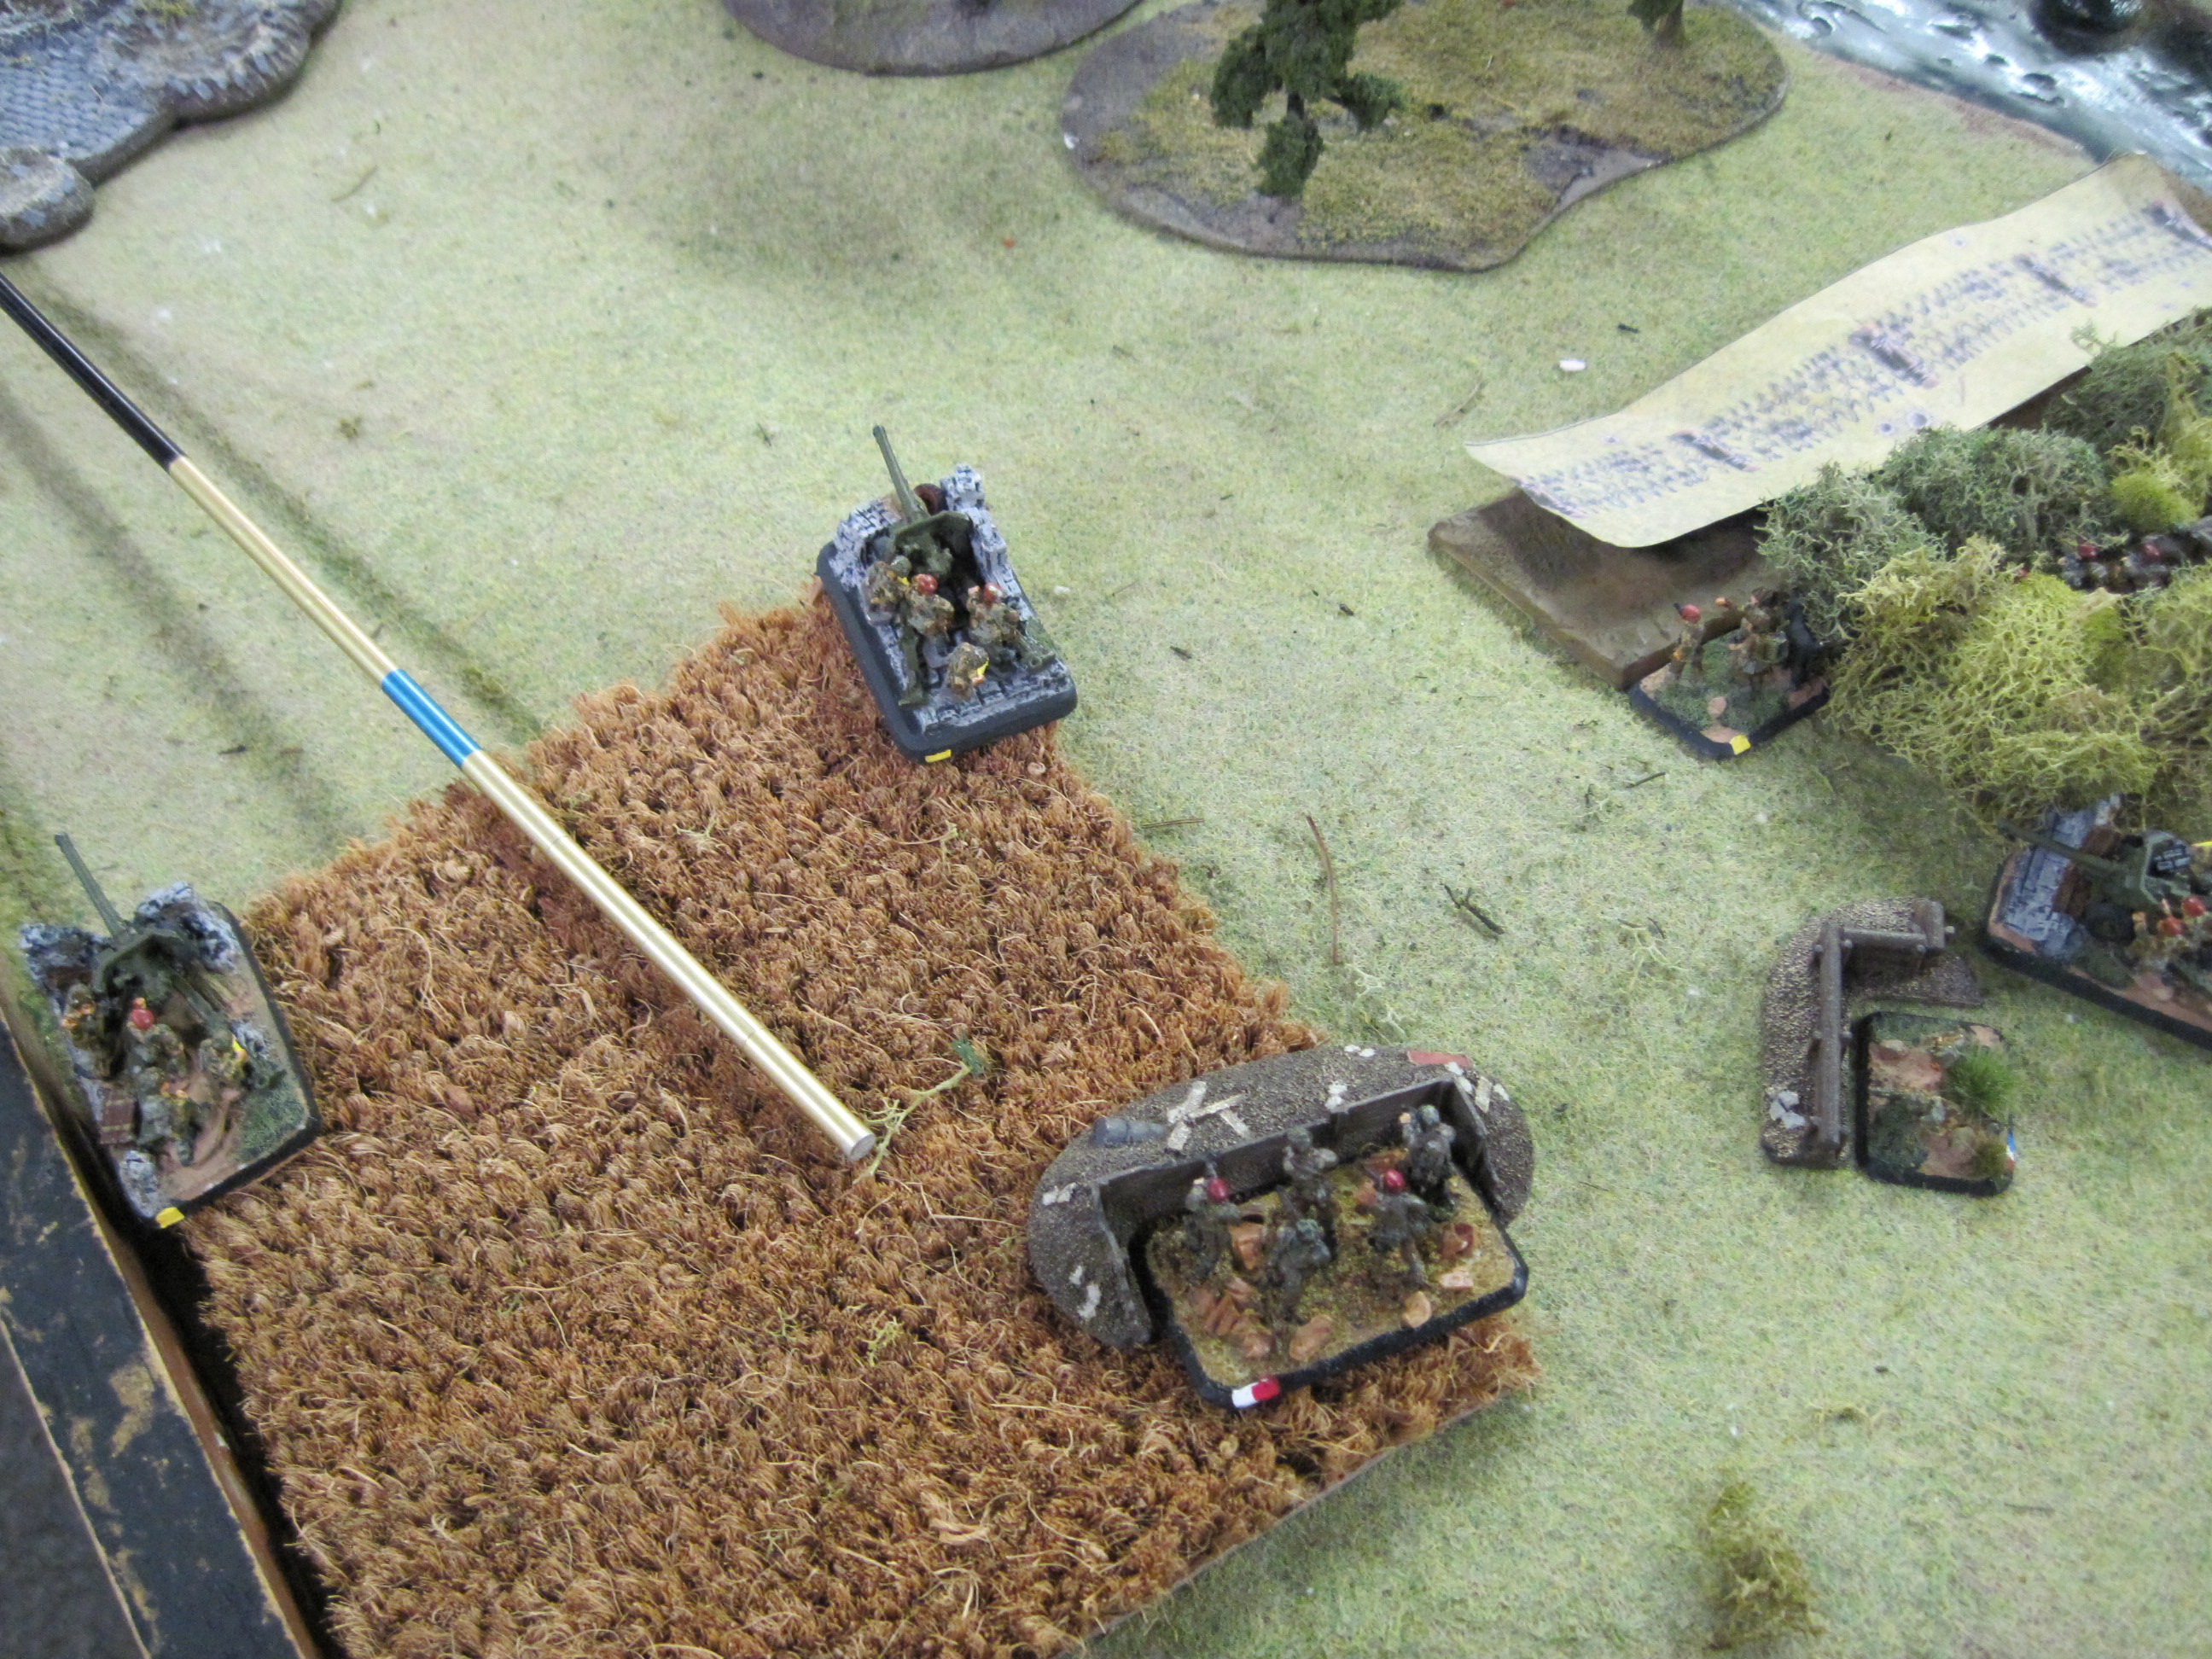 The 6pdrs hidden in the wheat fields on the left see their opening and unleash on the platoon of MkIVs near the stream…..and merely succeed in bailing one. For an idea of range, the stick in the picture is 16″ long, or short range. The 75s range in on the tanks, bounce one shot but do kill a nearby infantry stand. The naval artillery ranges in but fails to hit any targets.
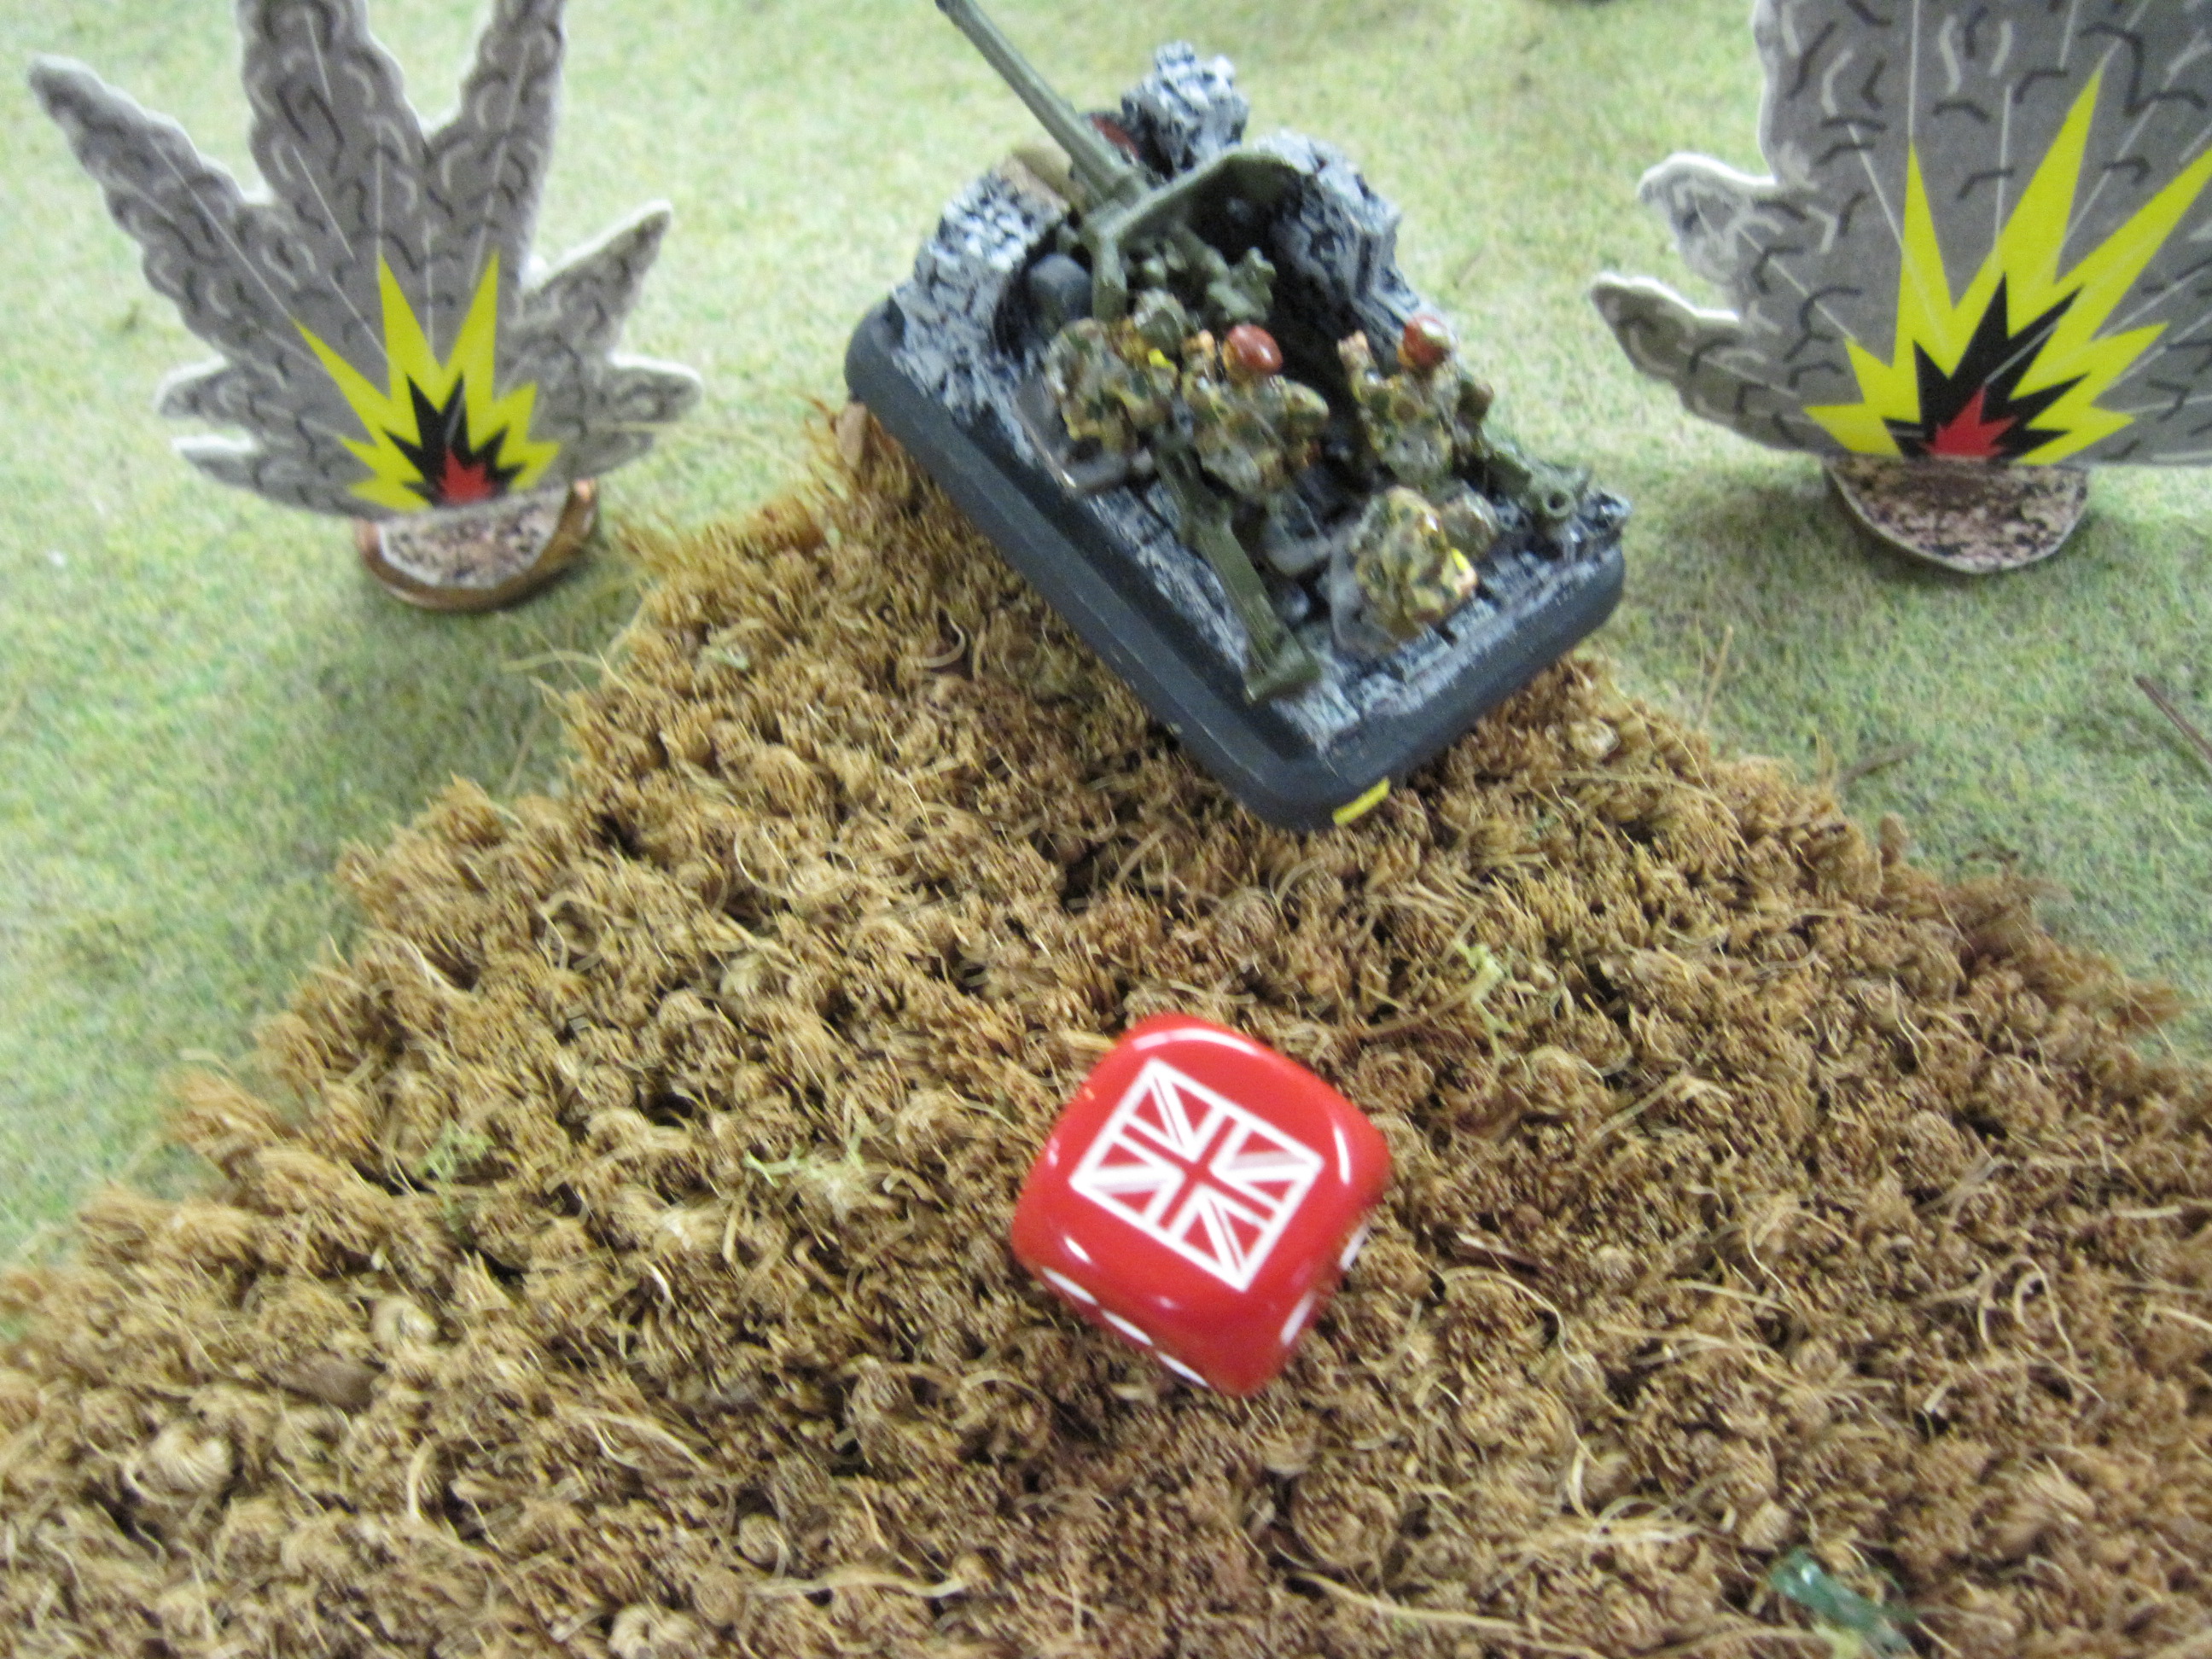
TURN TWO starts with the MkIV still bailed and the infantry still pinned. The 6pdrs now attract a lot of attention. Three tank shells hit nearby but not close enough. One gun fails to a machine gun burst from a tank…
 The mortars give the 6pdrs some lovin’ but I actually manage a save.


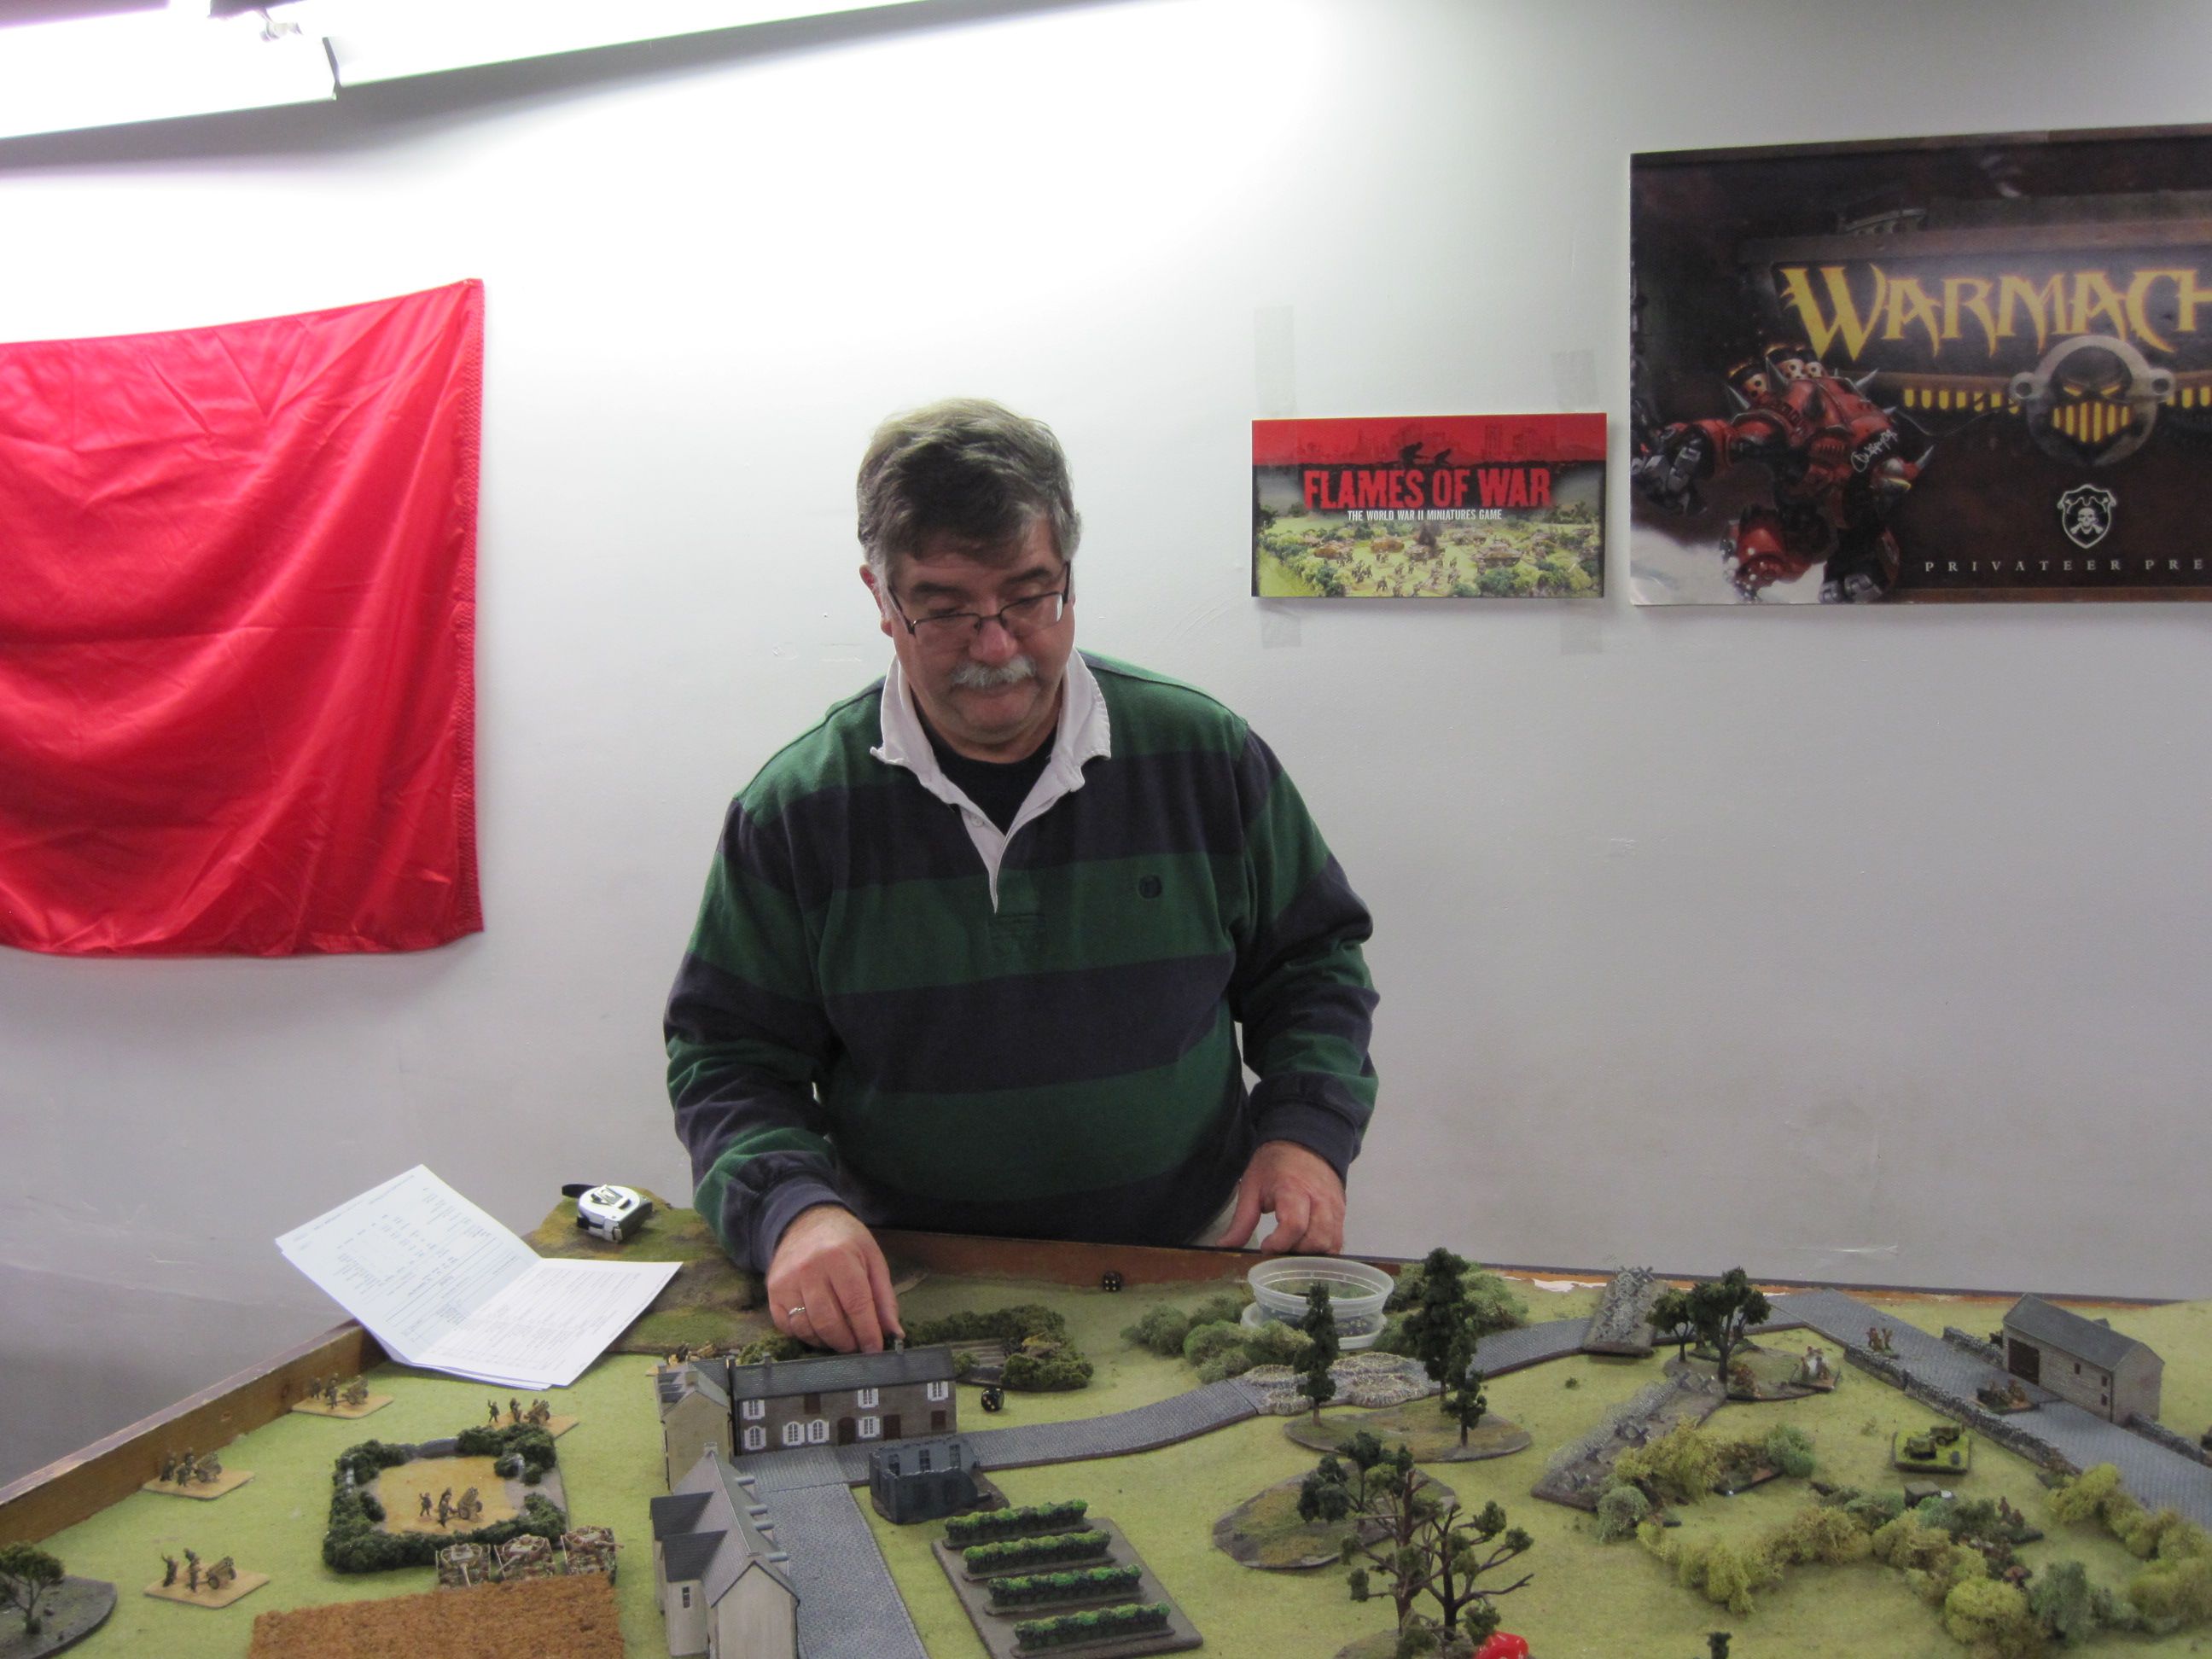
Great battle report! The forces and table look fantastic.